Showing posts with label crafts. Show all posts

Tuesday, June 5, 2012


It is almost Father’s day! 
Because Rory has the best Daddy we are trying to make some great gifts for him Father’s day so he truly knows how much he means to us.   Daddy loves all of Rory’s art work, it is hung up all over his office; but for father’s day I wanted to make something different!  I thought we could make him something he could wear to work.   We decided to make Daddy a nice fancy tie! 


Materials needed:
  • Tie
  • fabric crayons
  • paper to color on
  • iron
*It does require an iron, but I made sure to use the iron when she was napping. 
This activity really affordable and easy.   We bought a nice white tie and some Fabric crayons and started to color!  
I have always wanted to use Fabric crayons, just to see if they worked and how well they worked.  I had Rory color on a big piece of white paper, we went through each color and she had a great time scribbling.  I made sure she pressed hard with the colors, so when I needed to iron the drawing on the tie the colors would be bright and vibrant!
I cut the paper up into strips so that the whole tie would be covered.  When Rory went down for a nap; I put the paper, colored side down, on the tie.  I held the iron down on the coloring for a few minutes at a time.   The crayons worked great!  When I removed the paper there was beautiful scribbles all over the tie!  The color was so bright and I know Daddy will love it!
Then your done!  A beautiful, one and only, Rory designed tie!  I can’t wait for Father’s day!   

Monday, April 2, 2012

 Rory and I were already upstairs playing, so I thought we could play with some of my old stamp pads and make some more Easter decorations!
This activity was so much fun, and Rory really got into it.  As most of my little crafts are; this one is very inexpensive and can take as little or as much time as possible.  Ours took a long time, but it was mainly because we were having so much fun!
Materials:
stamp pads- for the bunny ears
paper- whatever colors you want- we chose dark colors of paper because we had a white stamp pad
paper to make the bunny faces and bodies
pens to draw faces
pom poms for the tails!
optional: any stickers you want to use!
We stamped our fingers on the stamp pad and pressed them down on the paper.  It took a few tries to get them right- Rory wasn't too used to using the stamp pad.  We tried several different ways to make the ears- we tried just using one finger and then tried using two fingers.  We just had fun playing with the stamp pad.
(As usual, we used this to reiterate colors: put your fingers on the WHITE ink pad and press it on the PURPLE paper.)  
I thought this would be a really cute Mommy and me project, so we did both of our fingers on the same piece of paper!  We waited for the stamp ink to dry, which is not very long, and while we were waiting we cut out circles for the bunnies heads and bodies.  (Rory colored on some of the bodies, but I think that adds to the cuteness of the activity.)  We drew faces on the bunnies and glued them to the paper.
We added a little “Some bunny loves you” phrase with stickers, and we will probably add a note on the top for Rory’s dad!  

Presto!  you now have cute mommy and me finger print bunnies- perfect for cards for grandparents, to hang on your walls, or to put in dads easter basket!  

Monday, February 27, 2012


A Bed for Kind of!

Rory has nothing but love for her baby, Kind of.  (Yes, that is her name, “Kind of”, she was Rory’s 1st birthday present from my 4 year old niece, Shannon who originally named her.)  One thing that we like to do is pretend that Kind of is a real baby;  Kind of eats with us, plays itsy bitsy spider with us, dances with us, etc.  We have recently started to get Kind of ready for bed, but it was really hard for us to put her in Rory’s big crib so we decided to make our own bed for her!  
Materials:
  • A box: a shoe box, or any small to medium size box
  • old wrapping paper, or paper to wrap the box in
  • tape
  • decorating supplies: we used crayons, letters, stickers 


The first thing we did was get an old box and cut down the top flaps.  
To cover the box, we used some old wrapping paper left over from Christmas.  I turned the wrapping paper inside out, so that the white side was on the outside for Rory to draw and decorate, which was a huge part of the fun.  Rory could hardly wait to color in it, so it was being colored on while I was wrapping it!
I wrapped it up like a present, I cut the wrapping paper large so some of it would overlap and fit on the inside of the box as well (if you choose to wrap the inside of the box, this will help make wrapping the inside of the box easier).   
If you are struggling for time or your toddler is being crazy, you do not need to wrap the inside of the box, the baby and blanket will cover up most of it; however I chose to wrap it.  I cut slits in the corners so they would wrap nice and pretty.  Again, it does not need  to be really nice and pretty looking on the inside since the blanket and baby will be covering. 
Finished Bed!
Then comes the fun part....DECORATING!  I had many old stickers laying around from my scrap booking days, and let Rory pick out what kind she wanted to use.  We also found letters to spell out “Kind of.”  (Of course I had to help spell them, but Rory put them on herself!).
After it was made, we were able to put  Kind of in her bed and sing to her.  It has now become a daily activity where we put Kind of to bed, get her changed in her pajamas, give her a blanket, sing her “Twinkle Twinkle,” give her kisses, and tell everyone in the house “shhhh, Kind of is sleeping.”  
Kissing Kind of Goodnight!

Wednesday, February 15, 2012


Rory and I were 98% better yesterday- no dizziness, no vomiting, nothing; and it was Valentines day so we had to make a few Valentines! We made some for her friends, but didn't go out and give them to them- but can’t wait to give them out!   Rory colored on them and we cut out hearts, then put on one of her favorite Trader Joe’s Cereal Bars on them and wrote “I love you Berry Much.”


 We were pleasantly surprised by Jon coming home from work early so we could go to the playground!  Of course, Rory loves the slides more than anything else in the world, so we spent about an hour there, just going up and down the big slides and little slides hanging on the monkey bars and being tossed in the air by daddy!  (Mommy was NOT happy about it!!!)


We came home and gave each other our Valentines.  Rory got a ZhuZhu pet, she loved it when her cousin and her would play with it in St. Louis, so I had to buy her one!   It was so much fun to see Rory have such a good day!
Rory's card to her Dad
My card to Jon


Zhu Zhu Pet!
I hope everyone had a great Valentines Day!

Saturday, January 21, 2012


Finger painting fun!   Rory and I had nothing planned today so we decided to make our own finger paint!  I chose to make our own paints because I know Rory is getting her molars now and so everything is in her mouth.  I did just a basic flour, salt and water mixture so that if she decided to have a mid morning snack it would be OK.  The recipe made a lot, so next time we are going to need to have a play date so we don't waste any paint! 


We had so much fun painting, we put out a big strip of my old pattern making paper and went to town.  I didn't think that she would use the paint brushes, but she actually used them a lot!

I got the recipe from this old school craft binder I found at a yard sale, called "A Guide to Children's Creative Play."  It was well worth the quarter! 

Here was our Recipe:
2 cups of flour
5 cups of cold water
1/4 cup of salt
food coloring
sauce pan
wooden spoon

I mixed the flour and water in a saucepan and cooked over low heat until it was nice and smooth

Then I mixed in the salt and allowed the paint to cool

I then divided it into 6 small cups and used food coloring to make the colors


 Getting down and dirty with the paint!  Put your hands in!


 We got her feet involved too!


 Here's the Cute look!
 She loves painting and was so good at it! We used so much paper but it was well worth it because now daddy has more art work for his office!  And believe it or not...She didn't eat any paint!
a great end to finger painting, a nice warm bath!!!

Monday, January 9, 2012

Rory has been sleeping since 1, and its 3:15!!!  I can't believe it!  I am just so shocked she is sleeping this long!  
She has never been a really good sleeper, but today she must know that my teeth hurt and I need a little break!  
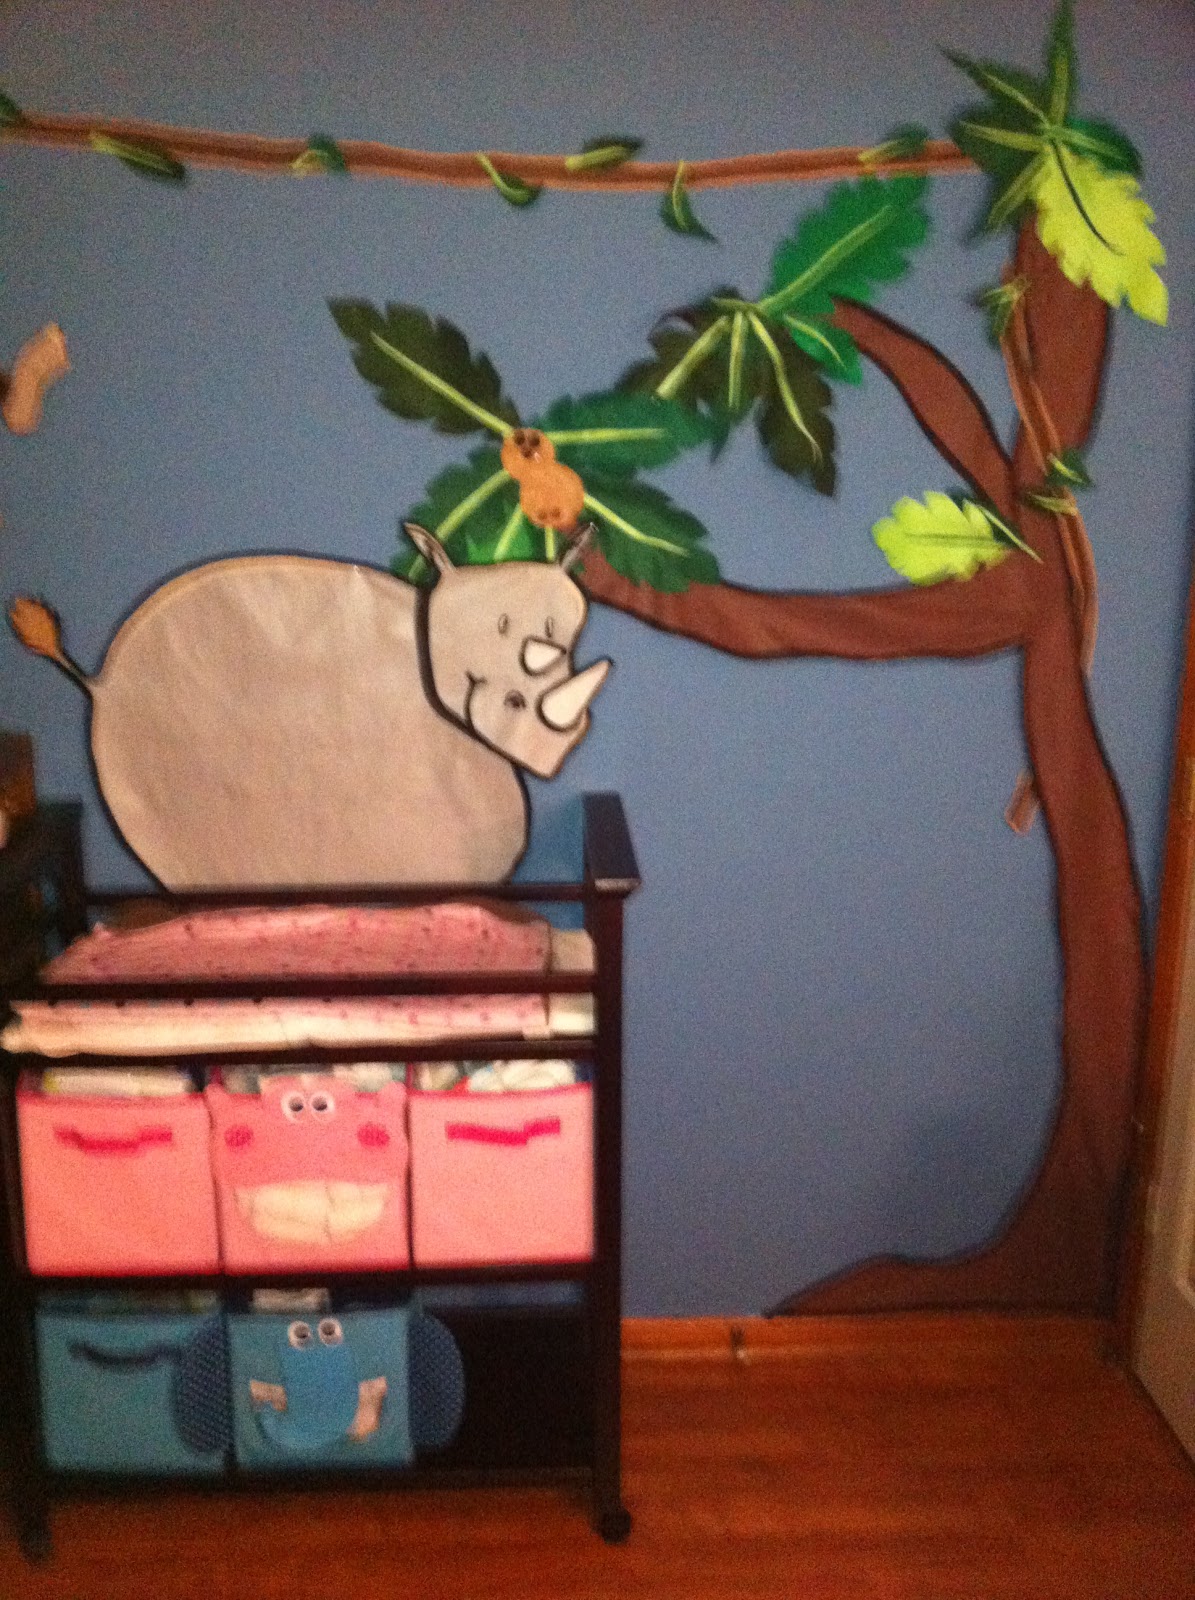
I am not sure why can't sleep in her room- It was custom made for her!  I finished making her room the day before she was born and It is so neat to see her face now that she is older and can enjoy it.  
I made it all from felt, pigeon feathers, and a hot glue gun.  It is so neat to see her walk in and touch the lion’s whiskers, or do the bird sign when she wants to touch the birds feathers.
I loved making those animals for her too- except for the mess it made! 
She is such a special girl, I am so glad she likes her room! 


Today

Simplistic Chic - a blogger template | ©2011 Dualillusions.com